This post may contain affiliate links, please read my full disclosure policy for more details.

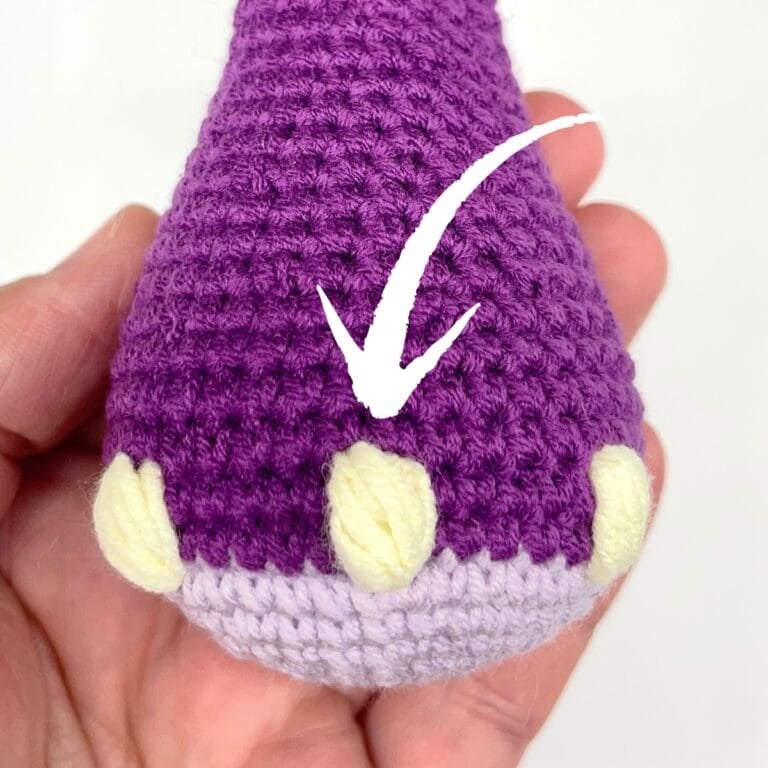
In this crochet video tutorial, I am going to show you an easy way how to attach arms to your Amigurumi toy without sewing. So if you are looking for a simple technique that involves only a few single crochet stitches and no painful sewing, then look no more! It can also be used for other body parts such legs, ears or a tail.
If you like the tiger I am working on in this video tutorial then make sure to check out my free crochet tiger pattern. I have included lots of helpful video tutorials in this pattern.
Scroll down to the bottom of the page to watch the step by step video tutorial on how to attach arms to your Amigurumi toy without sewing.

Join our Facebook Community
Join our Cuddly Stitches Community Facebook group to share your creations, chat to fellow Amigurumi makers or to exchange tips and tricks. You can also share feedback and ask for support when working with my patterns.
How to Attach Arms to Your Amigurumi Toy Without Sewing – Right Handed Video

How to Attach Arms to Your Amigurumi Toy Without Sewing – Left Handed Video

Did You Find this Tutorial Helpful?
- Leave a comment: share your feedback with us in the comment box below
- Pin this tutorial: pin this tutorial on Pinterest so you can return to it later
- Share this tutorial: show me your love and link to this tutorial on social media
- Subscribe: subscribe to my Newsletter to receive news and updates when I publish new patterns and video tutorials
- Join my Mystery Crochet Along: crochet a mystery Amigurumi toy along with other fellow crocheters for a lot of fun with a ‘surprise’ twist. Sign up for free!
- Explore more: visit my Amigurumi tutorials for more tips and tricks you will love!
Get a 15% discount on all PDF patterns!
Sign up and get a discount on all current and future patterns from my Etsy shop. Plus receive regular updates on latest patterns and video tutorials.
Explore More of My Amigurumi Tutorials
Watch my Amigurumi assembly video tutorials and learn how to assemble your crochet toys with ease. From helpful stitching techniques to no-sew assembly, you will love what you see!
Find the Perfect Crochet Pattern!
Create beautiful crochet toys with my collection of free Amigurumi crochet patterns. From easy patterns for beginners to more advanced designs, there is something for everyone to enjoy!
Here are just a few patterns you may love. Why don’t you give them a try?!
Free crochet bunny lovey pattern
Happy crocheting!